In Pervious Article we have installed Lync 2013
Standard Edition Server on Windows Server 2012 Install Lync 2013
In this article we are going to see, how to
install and configure Lync 2013 Persistent Chat server.
Introduction:
-
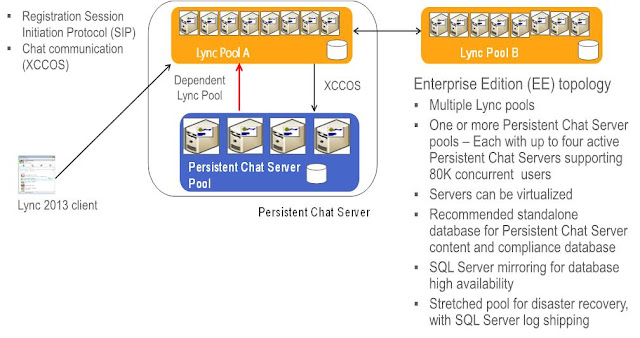
Lync 2013 Persistent enables to use multi-topic,
Multiparty Conversation in single window.
·
Improve
communication between geographically dispersed and cross-functional teams
·
Broaden
information awareness and participation
·
Improve
communication with your extended organization
·
Reduce
information overload
·
Improve
information awareness
·
Increase
dispersion of important knowledge and information
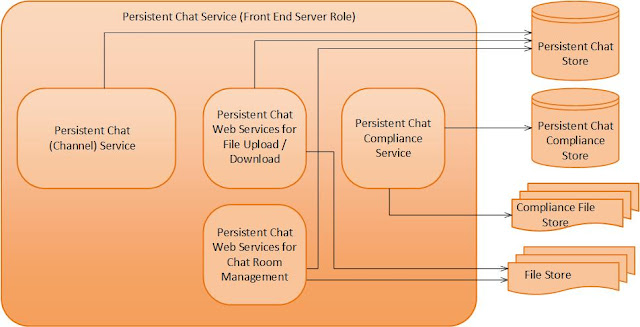
High-Level
Architecture: -
Pre-Requisites:-
- Lync
Server 2013 Standard Edition
- Full
instance of SQL 2008 or SQL 2012 called CHAT
Steps
1:-
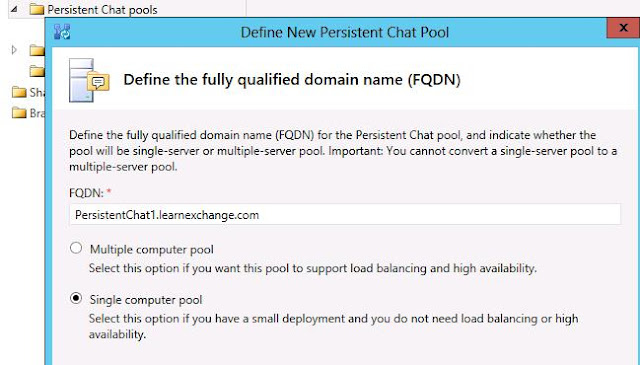
Open Topology Builder then Right Click Persistent
Chat and Define Persistent Chat Pool server. In our serious we are going to see
Single Computer Pool and you do not need load balancing or high availability.
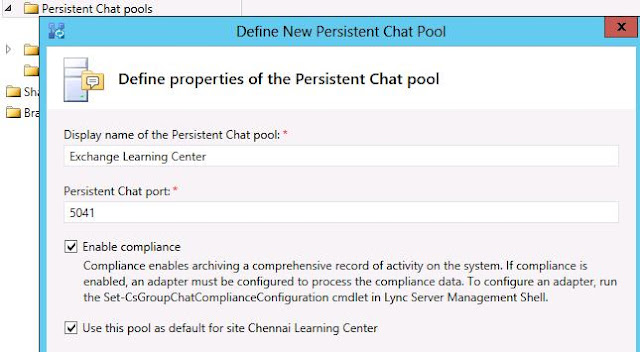
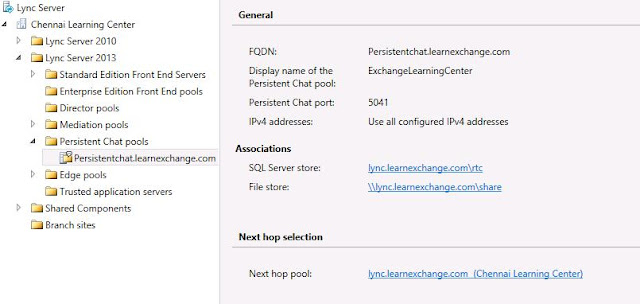
Steps 2:-
Define the Persistent Chat Display Name and Port
Number 5041, Enable Compliance and Enable this pool as default for site.
Steps
3: -
Define the SQL Store
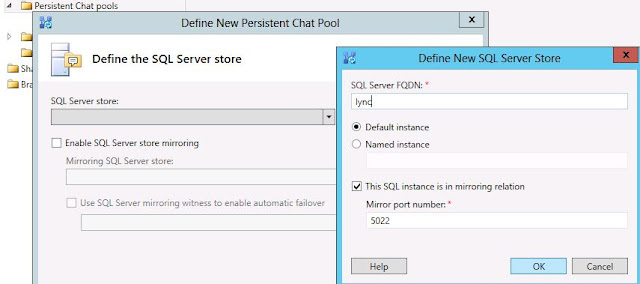
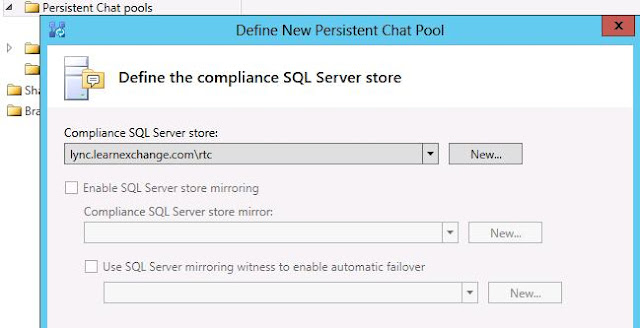
Steps
4: -
Define the Compliance SQL Store for storing
conversation history for Security and Compliance.
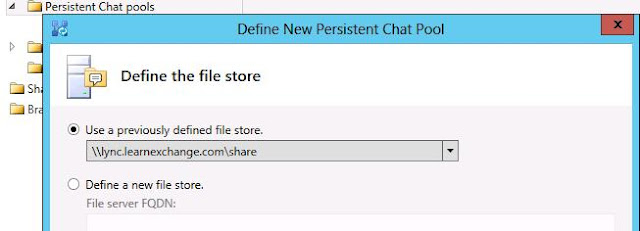
Steps
5: -
Define the File Store
Steps
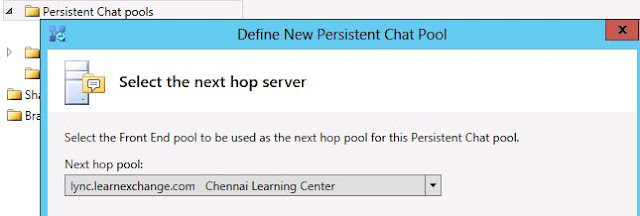
6: -
Select the Next hop pool
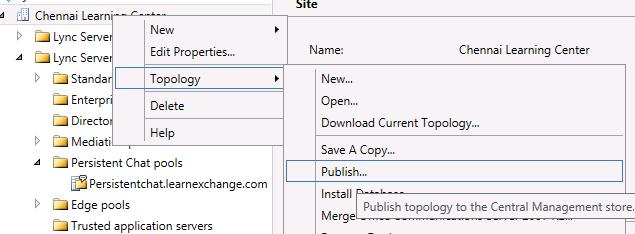
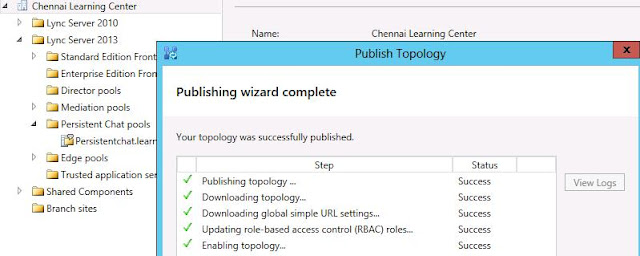
Step
7: -
Publish the Topology.
Steps
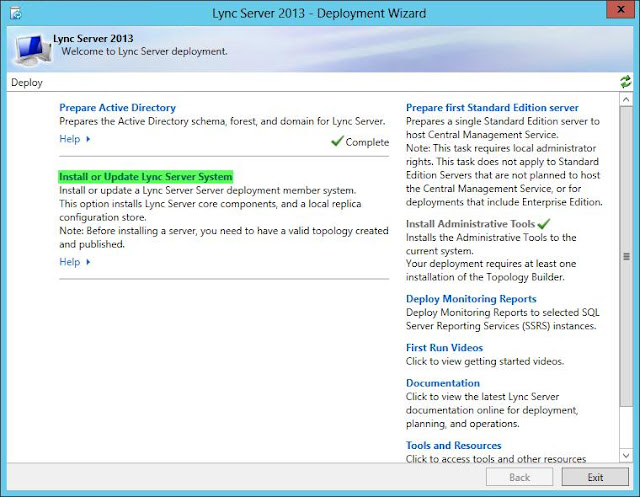
8: -
Now you’ll want to open up the Lync Server
Deployment Wizard and click Install or Update Lync Server System.
It will install Local Replica of CMS, Once it’s
completed without any error move on next
Click Run in steps 2, it will install the Persistent
Chat Server
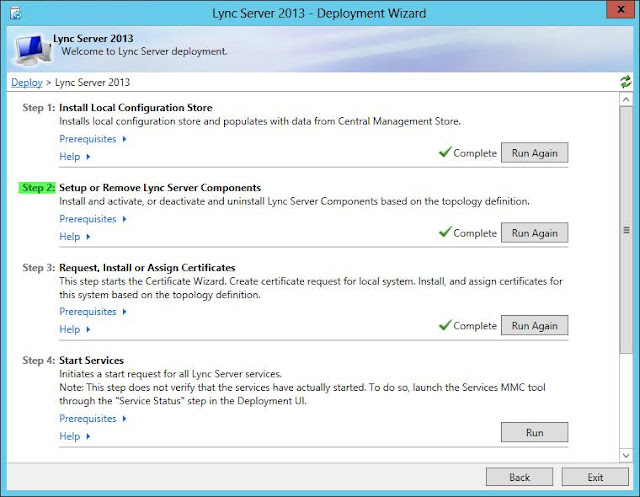
Click Run in Steps 3, Request
certificate for Persistent Chat and assign it.
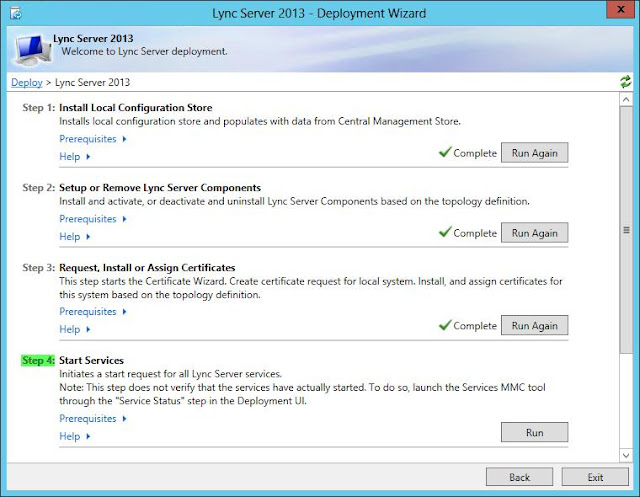
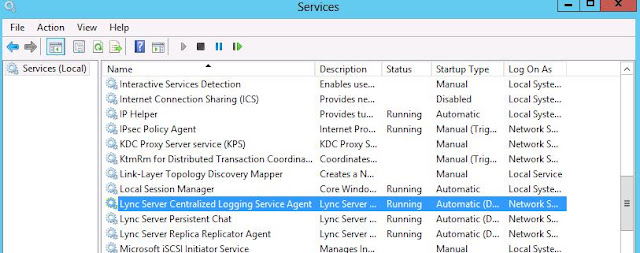
Click Run in Step 4 for start the Lync Persistent
Chat server services.
Steps
9: -
Now that we have built out the Persistent Chat
function, it’s time to move into the Lync Server Control Panel and enable the
functionality.
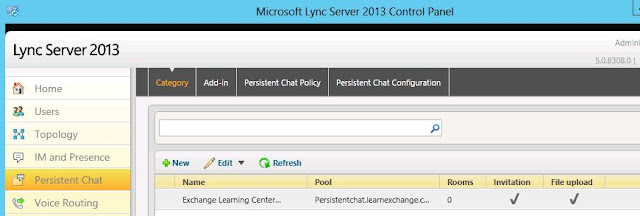
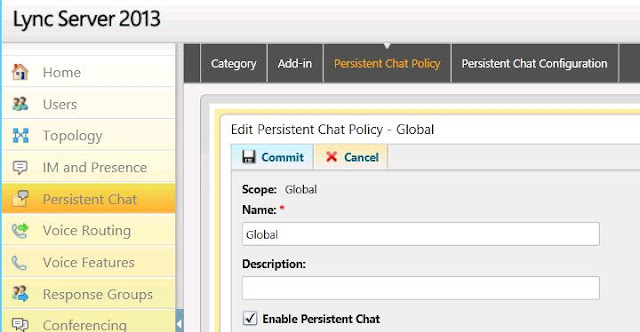
Open the Control Panel. Click on Persistent Chat –> Persistent
Chat Policy –> Check “Enable Persistent Chat”.
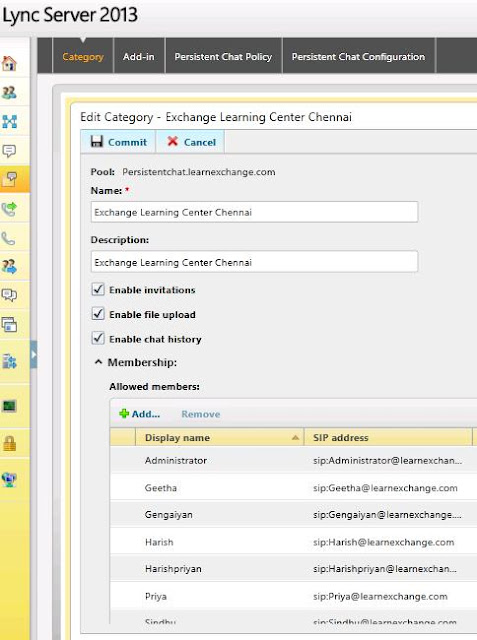
Now we need to add a category. Click “Category” –> “New” –> and select
your newly created Persistent Chat Server.
Fill in the settings and add your Allowed members.
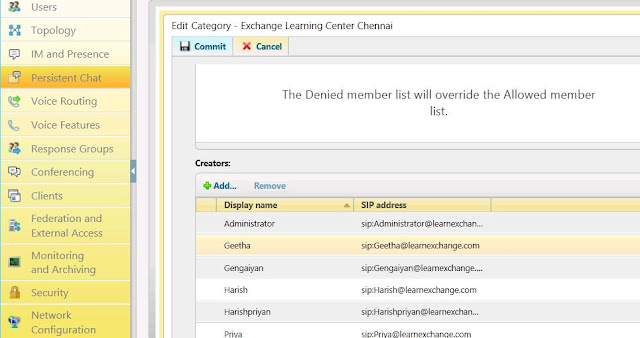
Now we will add Persistent Chat Creators Members
list which will allow the Members to Create/Modify the Persistent Chat Rooms.
Steps
10: -
Install Lync 2013 Client on users systems and
login using above creators account for accessing the Persistent Chat room.
Now it is time to add a Chat Room to the category
that was just created. This can be
accomplished through PowerShell, but I have found it easier to do it through
the Lync 2013 Client when you are adding multiple users.
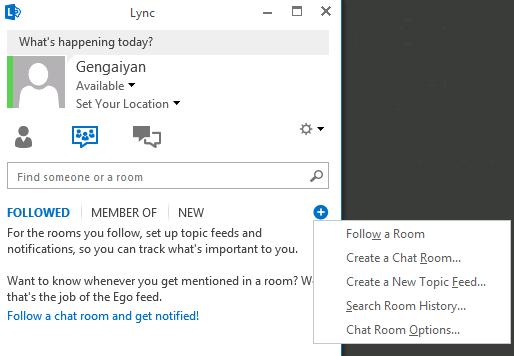
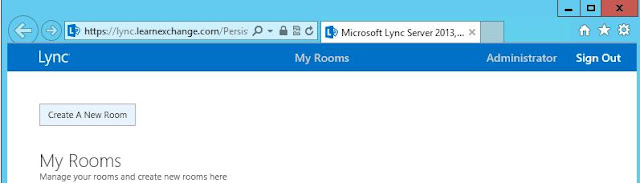
Inside your Lync 2013 Client, click the “Chat
Rooms” icon and then the “+” symbol to the right and click on Create Chat Room
Enter User Name and Password who have access for
creating Persistent Chat Room and Click on Create a New Room
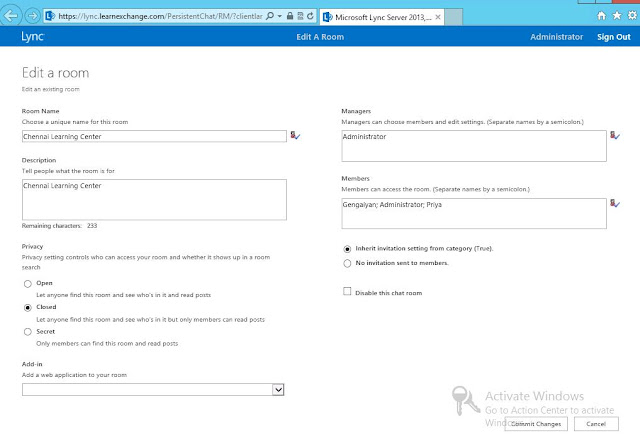
Enter the Room Name and followed information
 Once you created wait for 15 minutes for
replication , Once it’s completed sign out and sign in back for access the
Persistent Chat Room
Once you created wait for 15 minutes for
replication , Once it’s completed sign out and sign in back for access the
Persistent Chat Room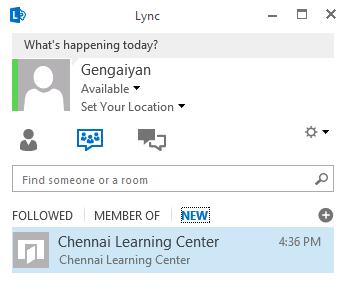
Double Click the Chat Room for starting
Conversation.
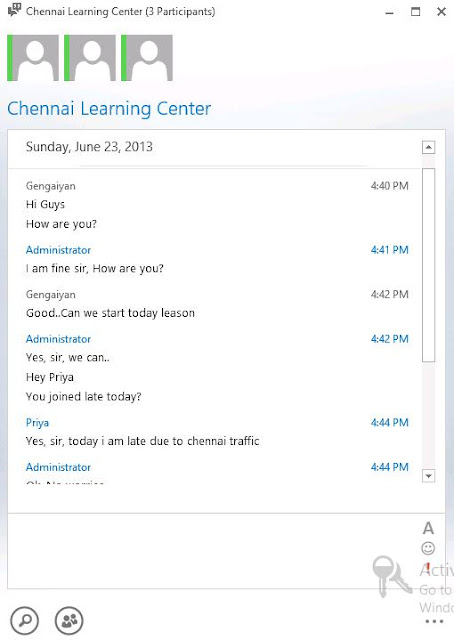
Enjoy..
Thanks
Keep your comments..
No comments:
Post a Comment