Install and configure Exchange Server 2013 on Windows Sever 2012
Deployment of Exchange 2013 has three main stages
1. Prepare
Active Directory ( If you installing Exchange 2013 for the first time)
2. Install
required Exchange 2013 prerequisites
3. Install
Exchange 2013 Setup
Prepare
Active Directory
When you install Exchange 2013 for the first time
in environment you need to prepare the active directory.
·
Active Directory domain functional
level should be 2003 or higher.
·
Active Directory Forest functional
level should be 2003 or higher.
·
Each Exchange site should have one Global
Catalog server that is running Windows server 2003 SP2 or higher.
·
An account with Schema Admins, Domain
Admins, and Enterprise Admins permissions to run Exchange setup.
·
Schema master running Windows Server
2003 with SP2, or a later version of Windows Server.
Although Active Directory preparation can occur as
part of the installation of the first Exchange Server 2013 server, you can also
run the Active Directory preparation as a separate task beforehand on a 64-bit
server running Windows Server 2008R2 SP1 or higher.
Alternatively, you can install the tools on a
member server to run Exchange 2013 Active Directory preparation.
If you are installing Exchange Server in the AD
forest for the first time run the following Exchange 2013 setup command to
prepare Active Directory Schema:
Setup /PrepareSchema
If you are installing Exchange Server in the AD
forest for the first time run the following Exchange 2013 setup command to
prepare Active Directory:
Setup /PrepareAD /OrganizationName:
"your organization name" /IAcceptExchangeServerLicenseTerms
Install the Exchange Server 2013
Pre-Requisites
Exchange 2013
can be install Windows server 2008R2 SP1 or 2012.
Import-module servermanager
Install-WindowsFeature AS-HTTP-Activation, Desktop-Experience, NET-Framework-45-Features, RPC-over-HTTP-proxy, RSAT-Clustering, RSAT-Clustering-CmdInterface, Web-Mgmt-Console, WAS-Process-Model, Web-Asp-Net45, Web-Basic-Auth, Web-Client-Auth, Web-Digest-Auth, Web-Dir-Browsing, Web-Dyn-Compression, Web-Http-Errors, Web-Http-Logging, Web-Http-Redirect, Web-Http-Tracing, Web-ISAPI-Ext, Web-ISAPI-Filter, Web-Lgcy-Mgmt-Console, Web-Metabase, Web-Mgmt-Console, Web-Mgmt-Service, Web-Net-Ext45, Web-Request-Monitor, Web-Server, Web-Stat-Compression, Web-Static-Content, Web-Windows-Auth, Web-WMI, Windows-Identity-Foundation
Install
Microsoft Office filter pack 2010 64 bit. (http://go.microsoft.com/fwlink/p/?linkID=191548)
Install
Microsoft Office filter pack 2010 SP1 bit.
(http://go.microsoft.com/fwlink/p/?LinkId=254043)
Unified
Communication Managed API 4.0 Runtime
(http://www.microsoft.com/en-us/download/details.aspx?id=34992)
Install
Exchange 2013 Setup
After Installed all required Prerequisites restart
the server before continue Exchange 2013 setup.
From the location where you have stored your Exchange 2013 files run Setup.exe.
The first dialog gives you the opportunity to check for updates to the setup files before you proceed.

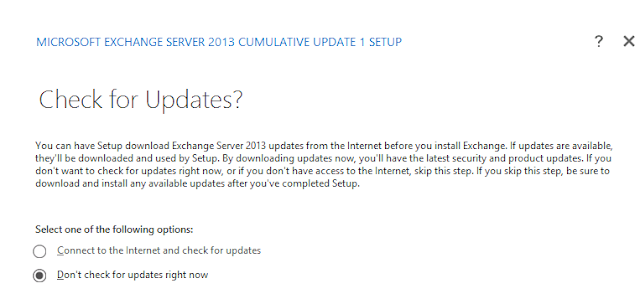
If you have all required setup files and update
you can select “Don’t check for the updates right now” and pass through Next
step
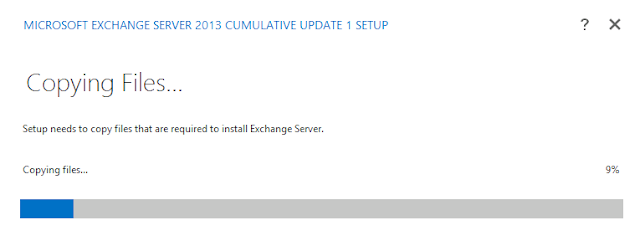
This steps copy the Exchange Installation files to
Temporary location before continue the process.
Click Next to continue pass through next steps

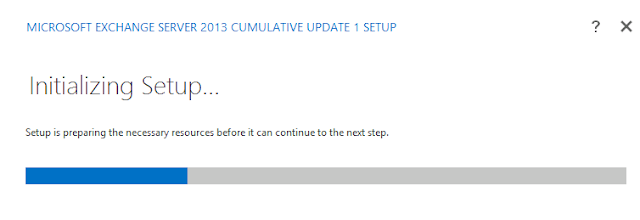
Next Process Initializing Setup
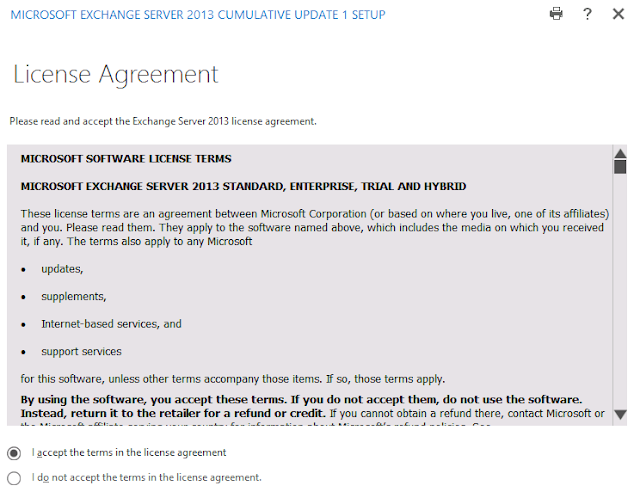
Accept the license agreement and click Next to continue.
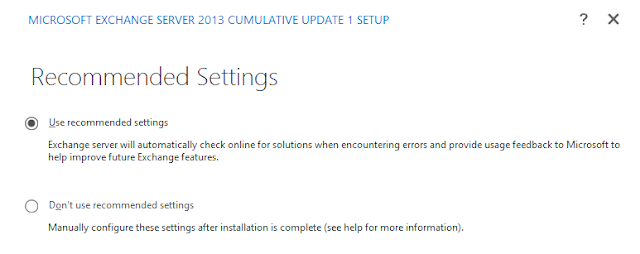
Choose whether or not to enable Error Reporting
and click Next
to continue.
After a check that all the pre-requisites are
installed the setup wizard will move on to the next step automatically.
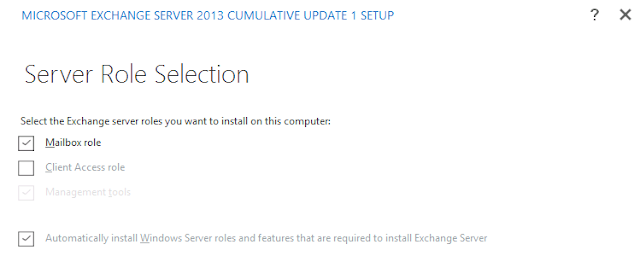
Now we can choose the server roles to install. If
this is the first server you’re installing Microsoft recommends you install the
Mailbox server role first (this can be either a Mailbox-only server or a
combined Mailbox/Client Access server).
Verify that you have enough disk space for the
installation, or choose a path that does have enough disk space, and click Next to continue.

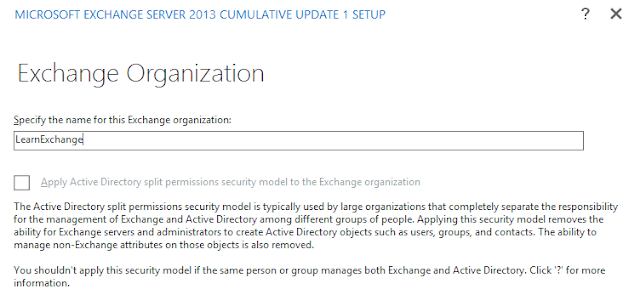
Specify the name of this Exchange Organization and
Click Next
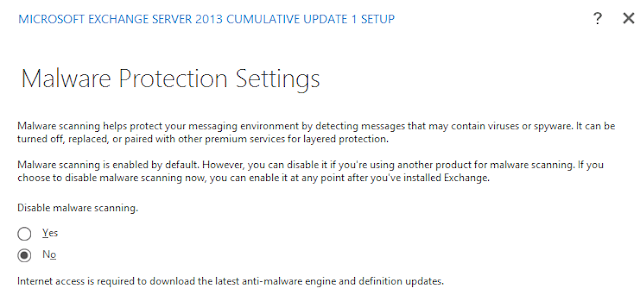
When installing the Mailbox server role you are
given the option to disable malware protection. If you disable it now you can
enable it again later. Microsoft recommends living default option (Enabled).
Some readiness checks are performed. If this is
the not the first server you’re installing and there is no Send Connector
defined for outbound email then you may see a warning, but you can still
proceed with the server installation.
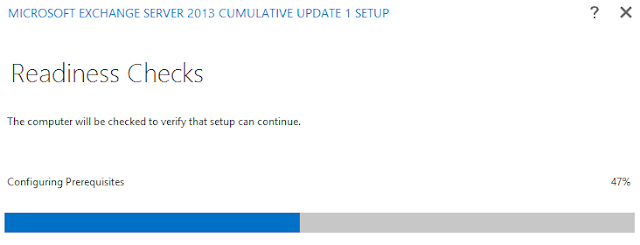
If you received any error message during the
readiness check, Please correct the issue before continues Next steps.
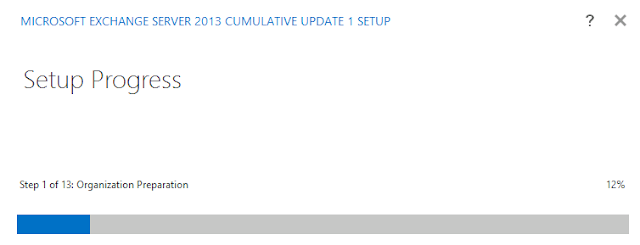
If everything goes smooth Click Next for continues
Exchange setup, It will take some time to complete the full setup.
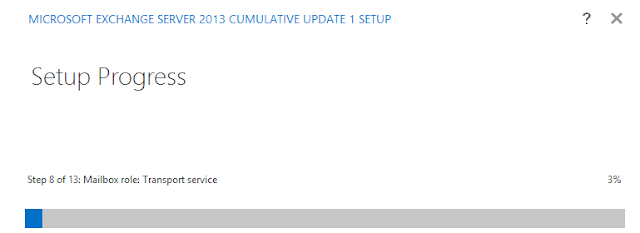
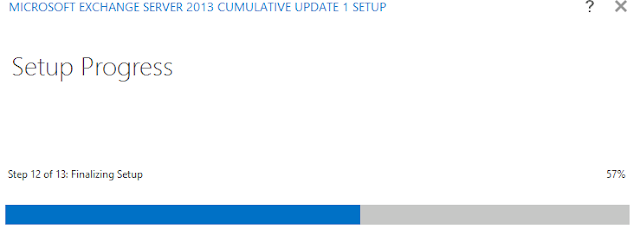
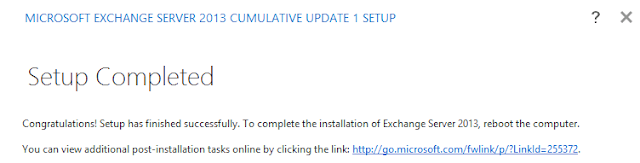
The install is a fairly lengthy process, so you
may want to go and do something else while you wait. When setup has finished
click Finish.
Thanks.
Keep your comments..
No comments:
Post a Comment